+ personal
+ portraits
+ planning
+ engagements
+ Weddings
categories
Sharing love stories, planning resources, and a bit of my personal life for good measure.
The Blog
+ get the guide
+ share the secret
Check out my engagement photos guide "How To Totally Win At Your Engagement Session." No email necessary!
I do, too! I tried out over 50 lipsticks so I could recommend the ones that would truly last all day - kiss proof for your big day!
engaged?
Love lipstick?
Personal
Planning
Portraits
Engagements
Weddings
Featured
categories
connect
Search
+ REad More
I'm Mylah, a wedding photographer based in Austin, Texas, capturing timeless and intentional memories that celebrate marriage.
Welcome
+ get the template
Download the exact template I've been using for over a decade of photographing weddings.
Planner-Approved. Client-Loved.
Need to Create the perfect Wedding day Timeline?
 This weekend is a HUGE weekend for me and my business. This weekend has taken months of planning, hours of organizing, and too much brain energy to even account for. If you’ve seen me in the last few weeks and I can’t seem to form coherent thoughts beyond that of This Weekend, I am sincerely sorry. You see THIS weekend is the Austin Bridal Extravaganza, one of the largest bridal shows in the area. It also happens to be … my very first show.
Yesterday, vendors were allowed to set up their booths in preparation for Sunday’s show. I am SO SO SO Thankful for my in-laws who drove in from Dallas to help me this weekend. Yes, THEY DID!!! I may very well have the BEST in-laws EVER (and, yes, you’re totally allowed to be jealous)!!! Not only did they drive all this way just to help me, but they also brought things to decorate my booth and built a custom easel to display my photos! I’m pretty much over the moon with how the booth turned out and will likely be sharing with you how it looks in the weeks to come!
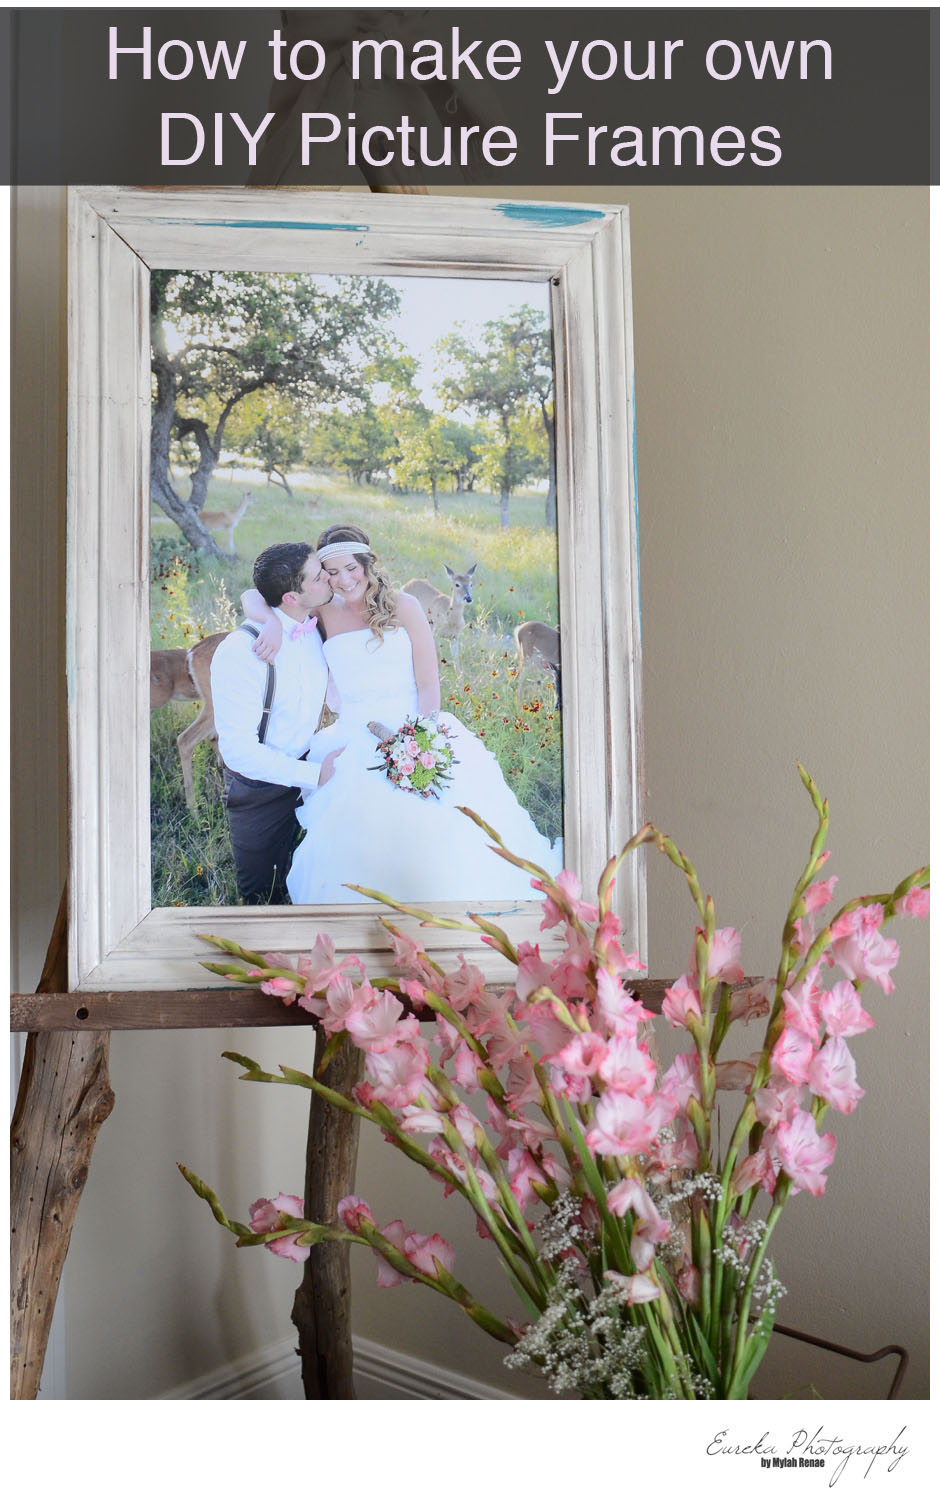
While setting up yesterday, we have already heard a ton of compliments on the frames my photos are in. I’m proud to say that my sweet husband made each and every one of the frames in my booth! WHAT?!?! He is so talented and can make just about anything he puts his mind to! I’m so thankful to have such a supportive husband who goes along with all my crazy antics!
A little back story before I tell you how he made the frames: Dylan and I bought a new house this past winter. One day, while needing a break from the “to-do” list that fixer-uppers require, Dylan took some of the old baseboards that we had replaced and made little picture frames for me. I had a whole stack of them and it was such a sweet surprise! He was so giddy, too, with his handiwork. After tweaking the design ever so slightly, we both agreed that his new creation would be the perfect frame for my photography! I love that they are different, rustic, and look vintage. He loves that he made them (there is always something about seeing your own ideas come to life and to be the one who actually make something with your own hands).
Here is how the frames were made:
1) Dylan measured each old piece of crown molding, baseboard, or chair rail according to my print size, 20×30 inches. With this in mind, the inner part of each frame was to measure 19.5 inches by 29.5 inches, so the print would over lap the frame by a quarter of an inch on each side. So we had two short pieces that measured 19.5 inches and two long pieces that measured 29.5 inches on the inner seam for each frame. 
2) Dylan used our miter saw to cut the 45 degree angles at the corner of the frames at the predetermined length from step one, cutting so that the back of the molding was facing the saw. Each piece looked like a trapezoid and the design of the molding was the same direction on each piece (Easier said: the part that originally touched the floor, or the fat side, was always on top for the 4 pieces or always on bottom for the 4 pieces, as long as it was the same for a single frame – you’ll get a better visual once the pieces are laid together in step 4). 
3) Next, he used wood glue to attach the four corners of the frame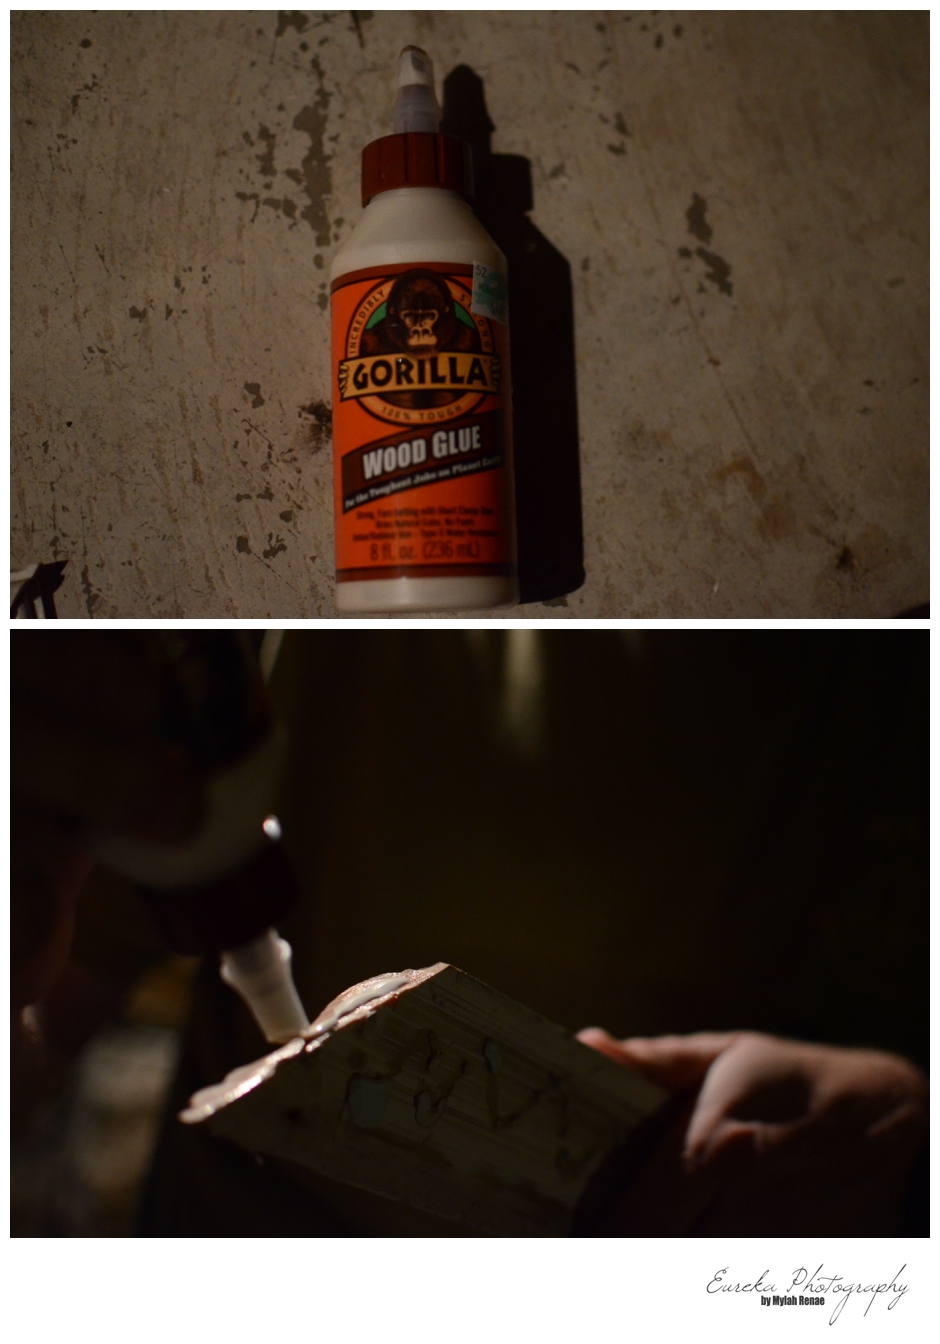
4) Then, he lined up the four corners that already had glue and pinched the corners together with a four way clamp so that each cut was pressed evenly to the next. 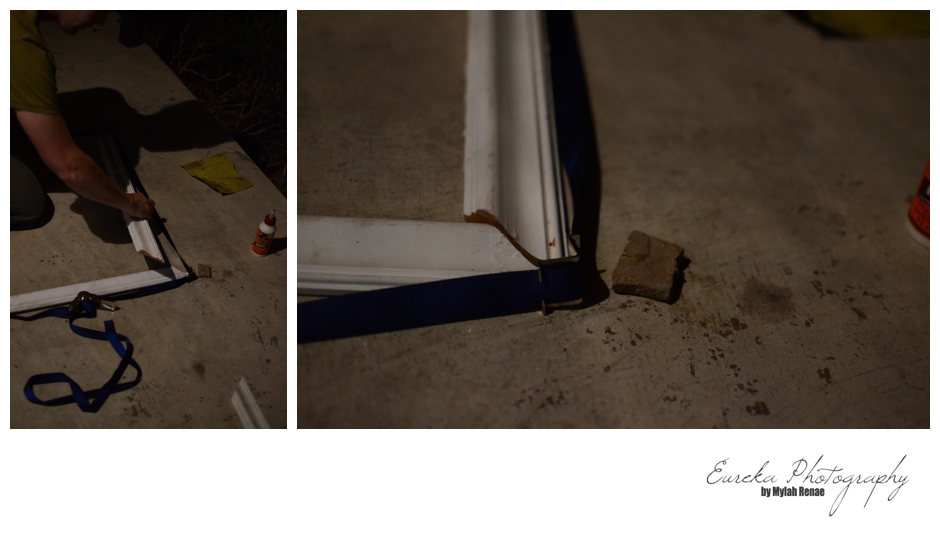
5) We let the glue dry overnight. (We took this long approach with the glue, as the nail gun would shoot through our old molding.)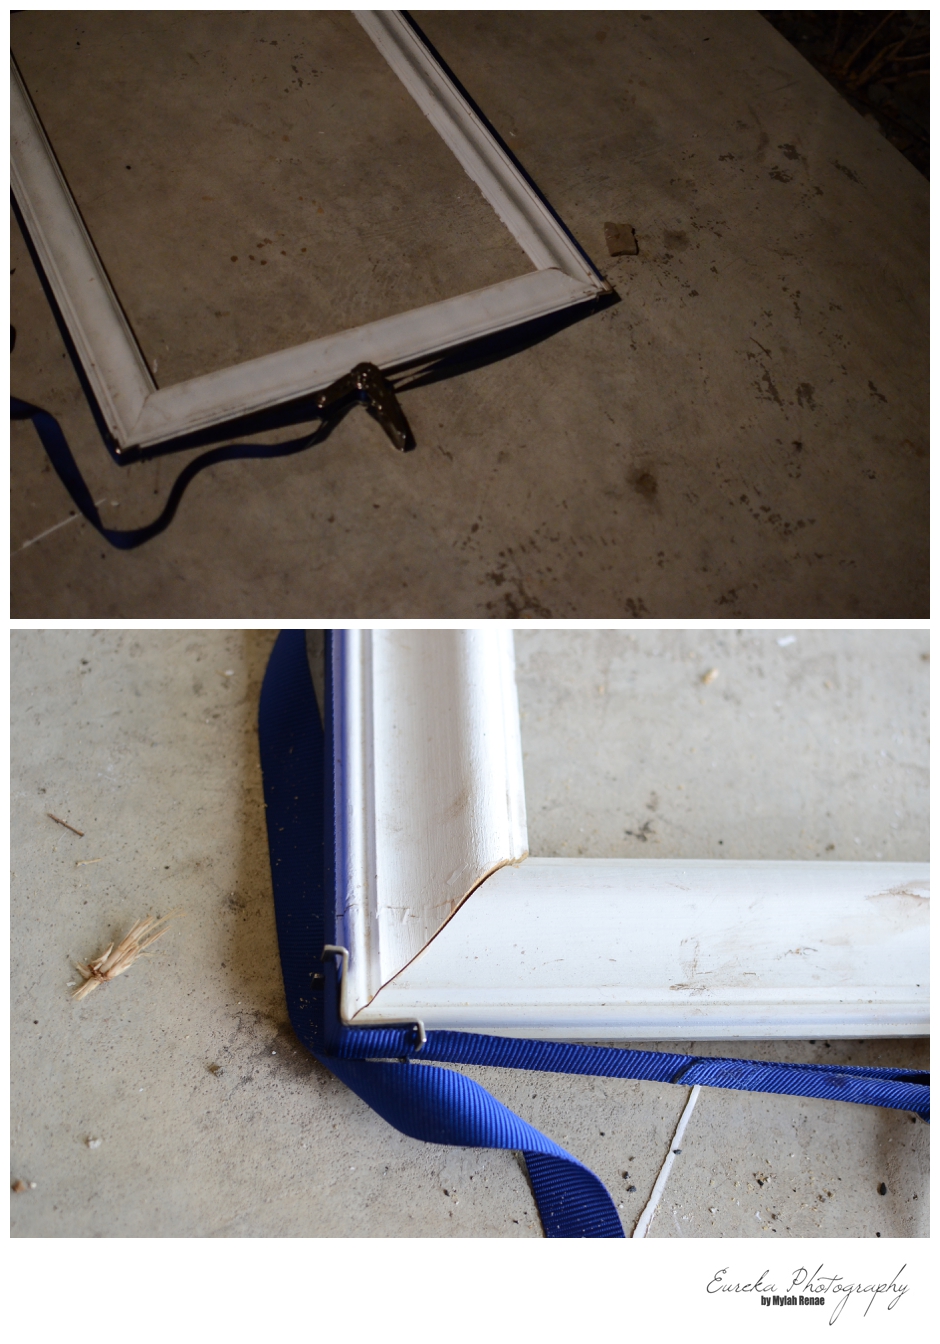
6) Once the glue was dry, we removed the 4-way clamp and hammered joiners to the back of each corner. Here are the simple instructions for that. 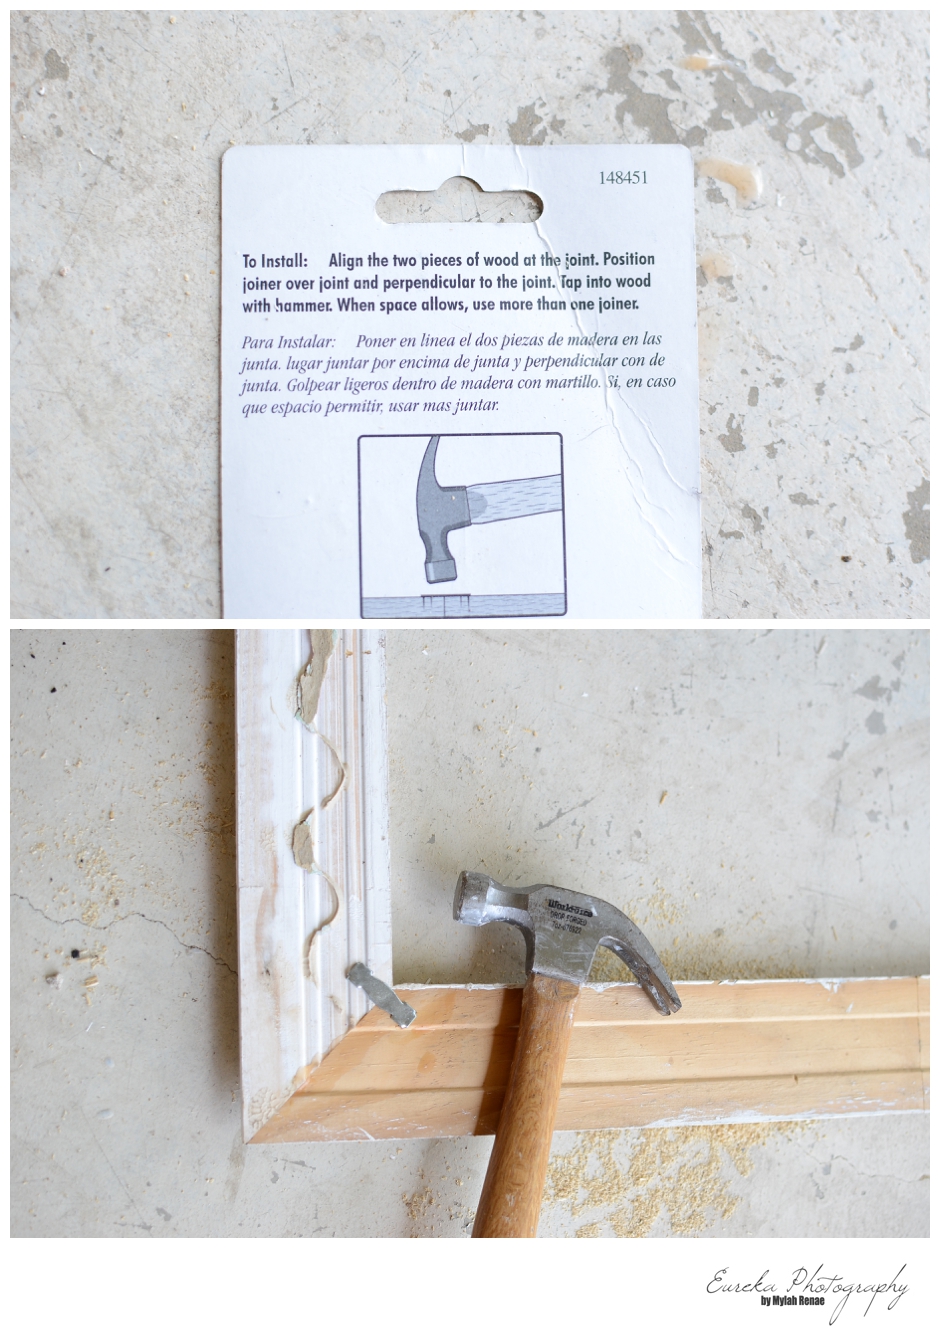
7) As you can imagine, our molding got PREEEETTTTYYY dirty, so I cleaned the front of each frame. 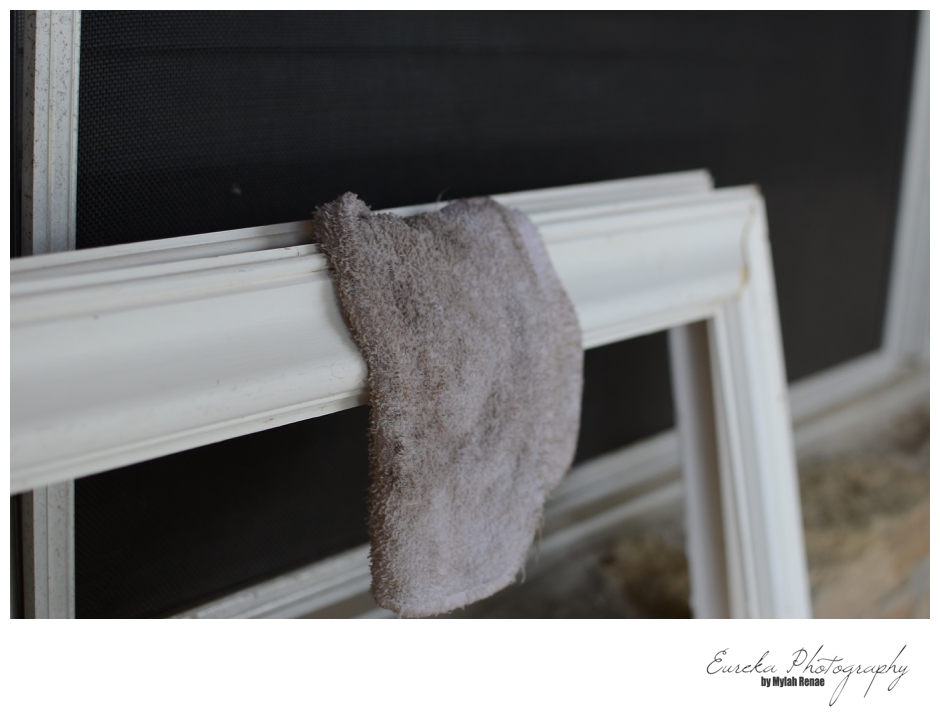
8) Once clean, I painted the front of the frames with my brand colors: Peach, Turquoise, and Cream. On some, I added touches of one of the other colors. Below left, you can see I put a touch of turquoise on top the peach and a touch of peach on top of the turquoise. Not too much, but just enough to add interest. 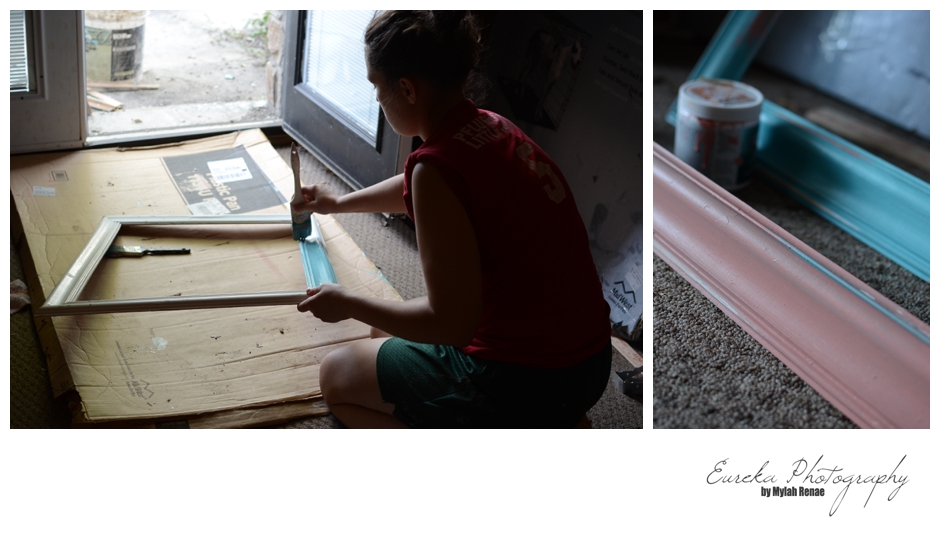
9) The paint dried pretty quickly. After that, I sanded (by hand) various parts of the molding. Not too systematic. Some parts were just sanded back to the base color of the molding (white) and some places were sanded all the way back to the wood. 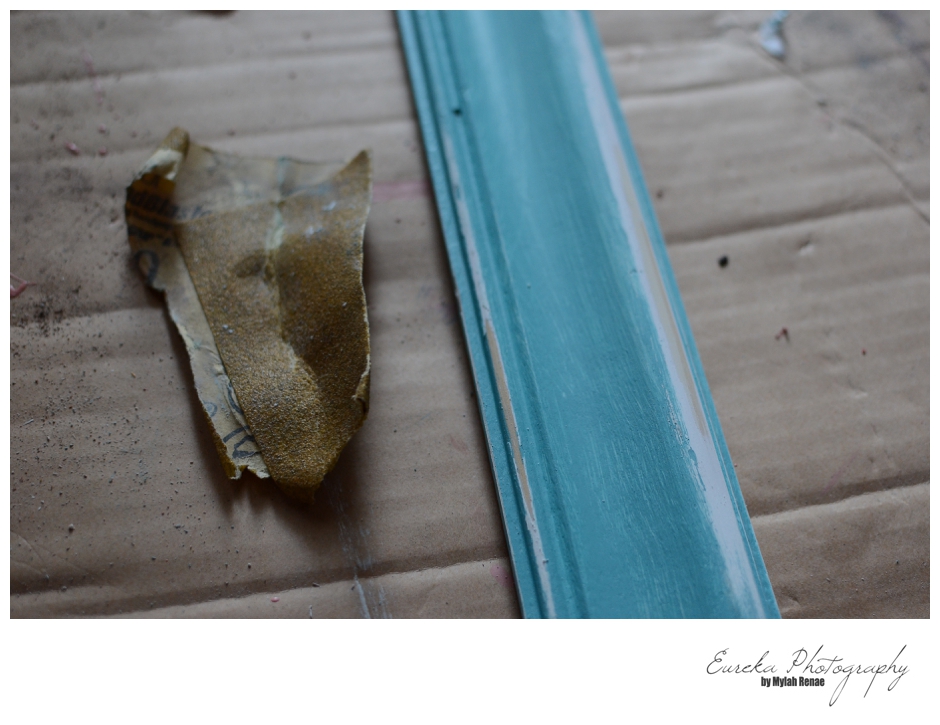
10) Next, I rubbed on Harrell’s Antiquing Wax. It is the BOMB DOT COM!!! 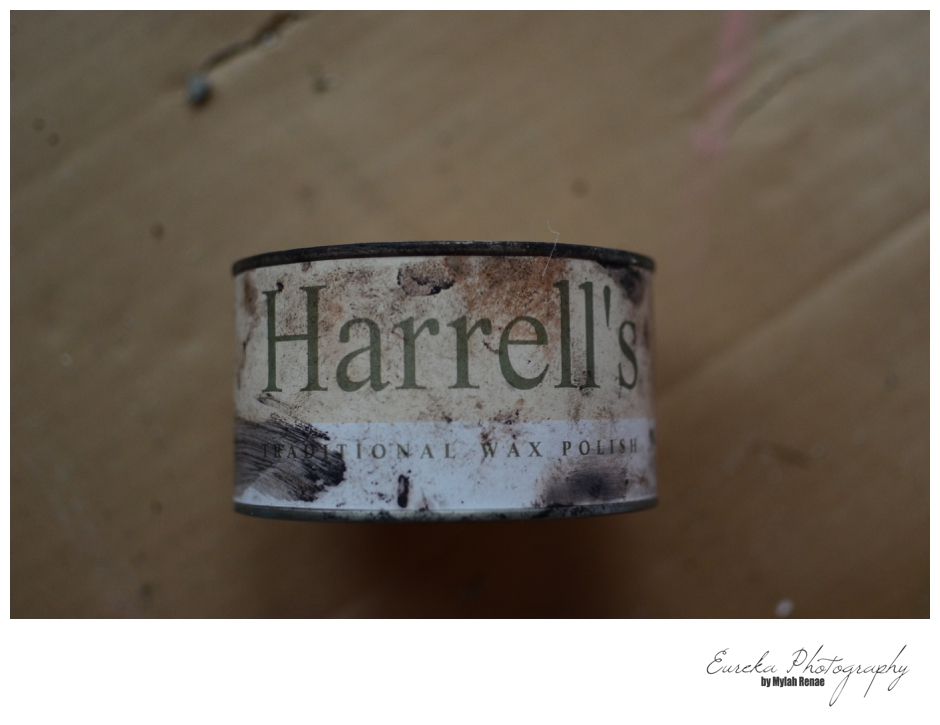
Right about here, if you’re a photographer, QUIT READING!!! You will think this is a disgrace to photos everywhere, but I loved my prints and my frames. We couldn’t think of a great (quick) way to add a backer that would hold the print in (and didn’t want to add glass since that would cause a major glare at the show from the lights, nor do we have a glass cutter), so we improvised…..
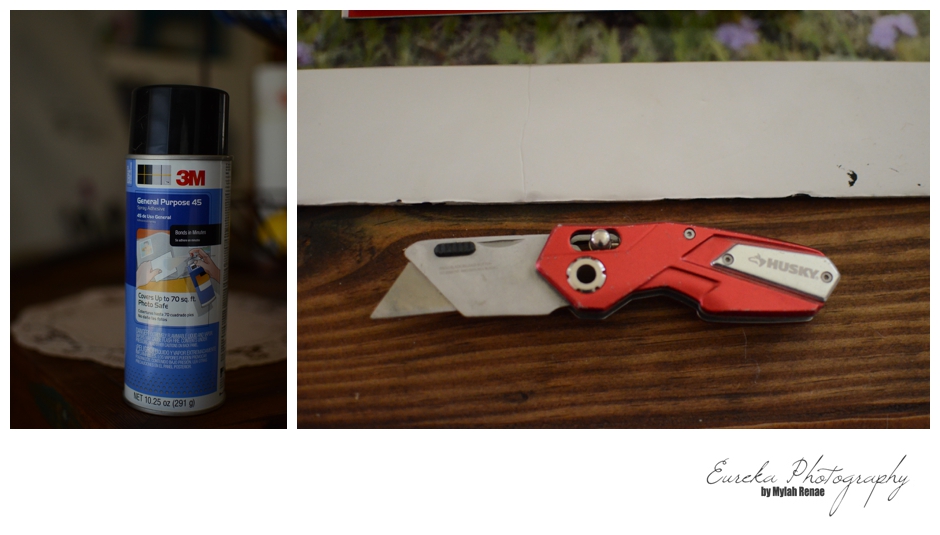
11) I took photo safe glue and sprayed the back of all my photos, which were QUICKLY placed on pre-cut cardboard pieces or foam board (anything fairly sturdy AND straight AND light-weight would work, really). The Cardboard pieces were cut to cover the entire back of the frames, which is roughly 36×26 inches. I say roughly because there were SEVERAL types of molding all over the house, so each frame is a different width.
12) After that, I used a staple gun to secure the cardboard pieces (with glued print attached) to the finished frame from the back. This photo below on the left shows you the back of the frame. 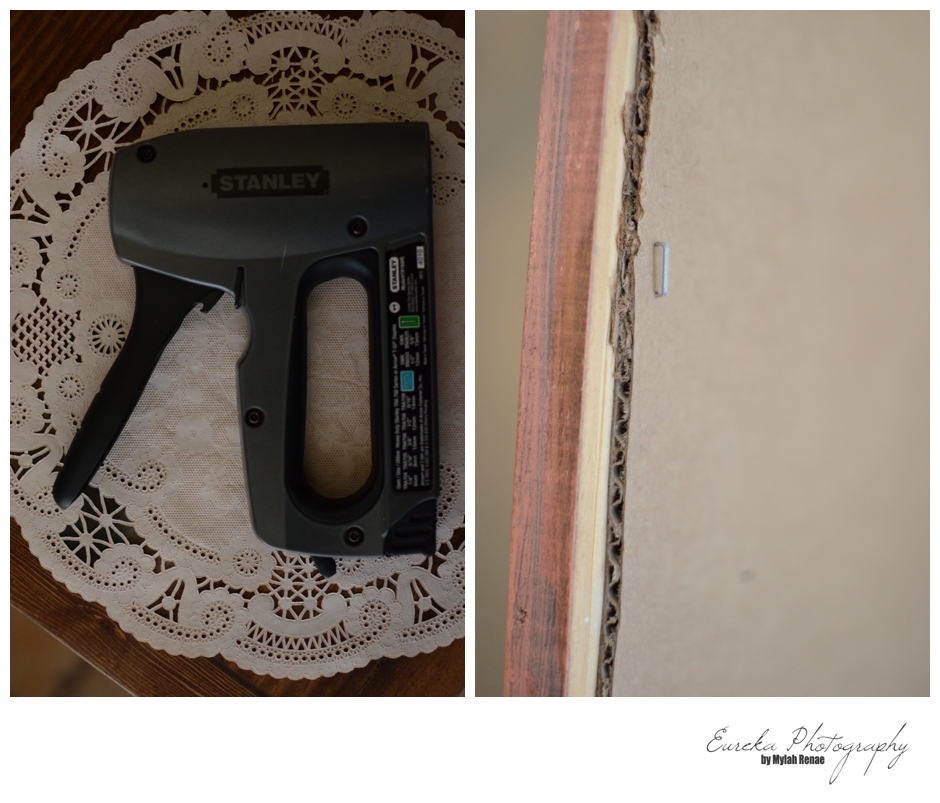
Here is what the final frames WITH PRINTS look like: 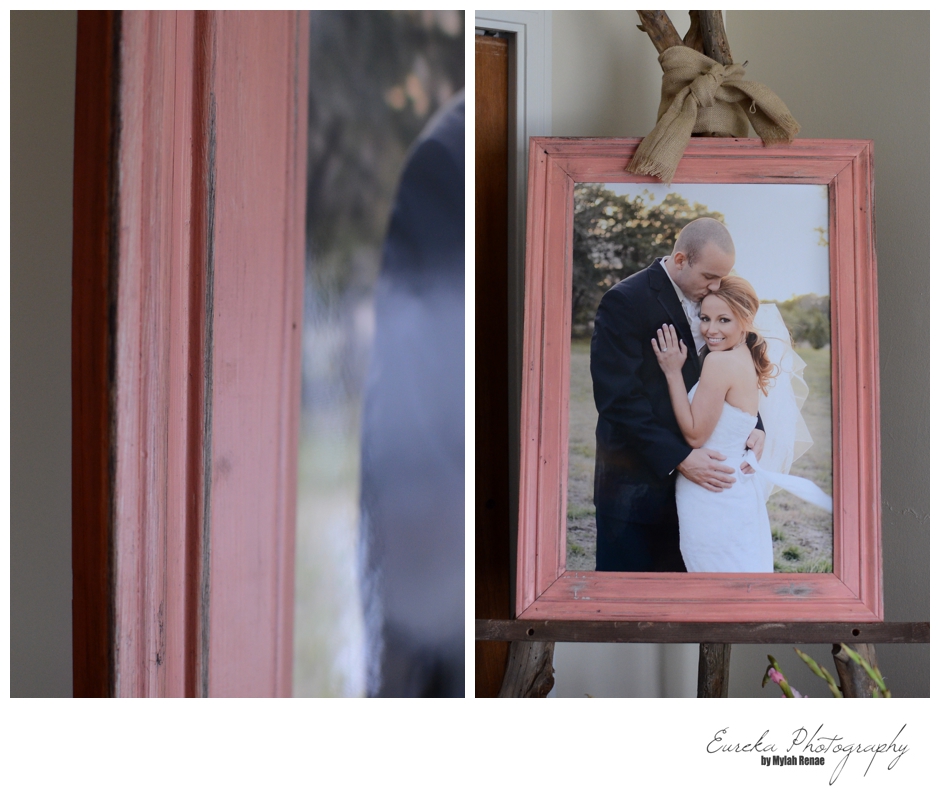
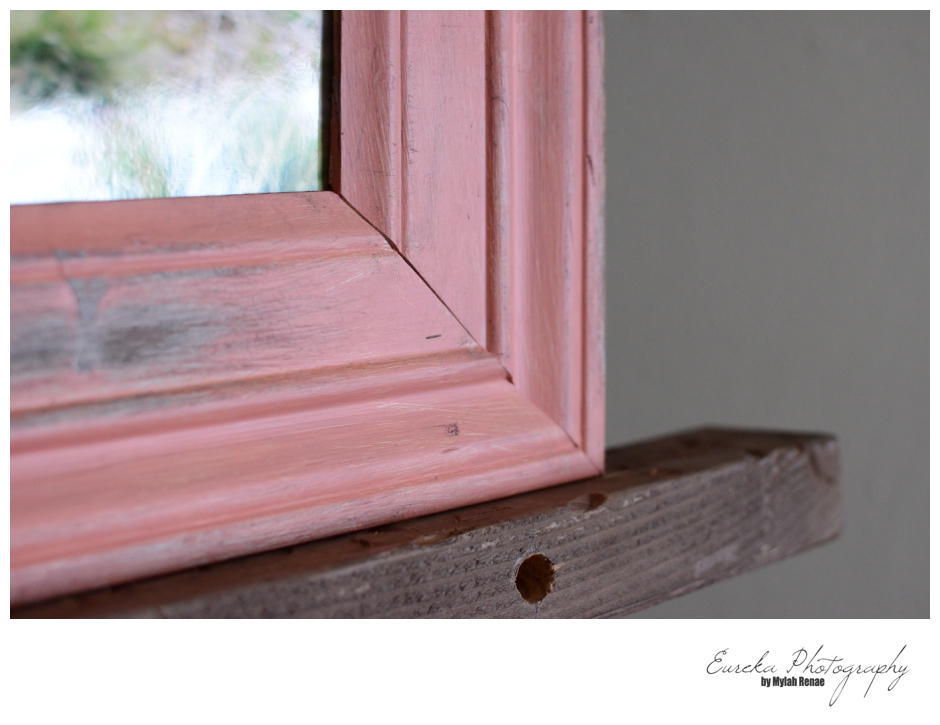
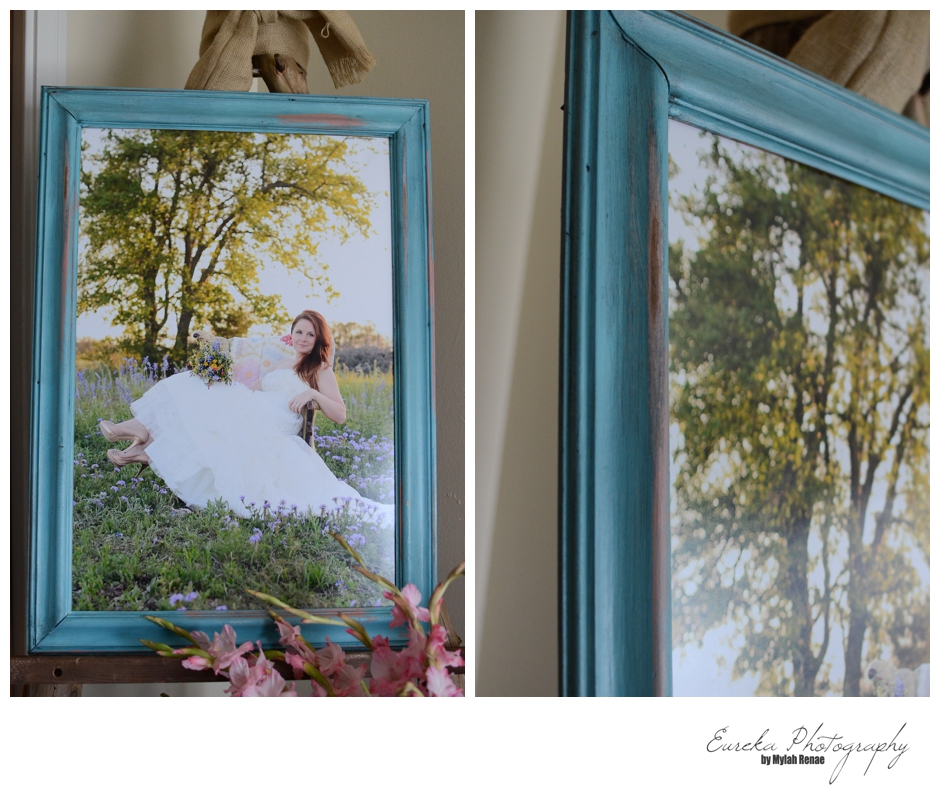
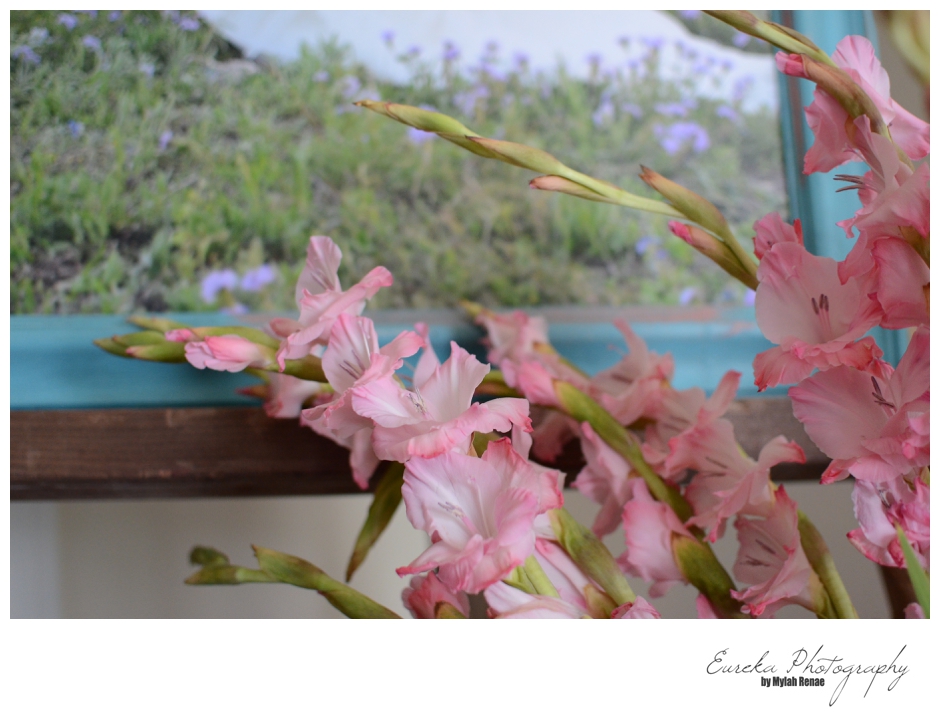
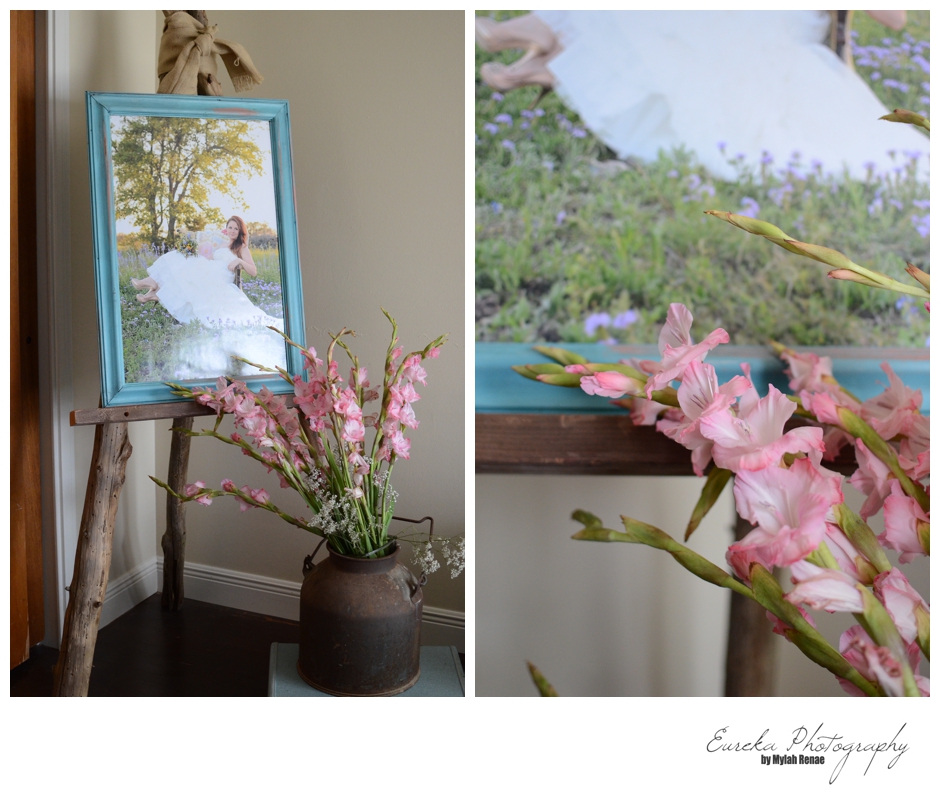
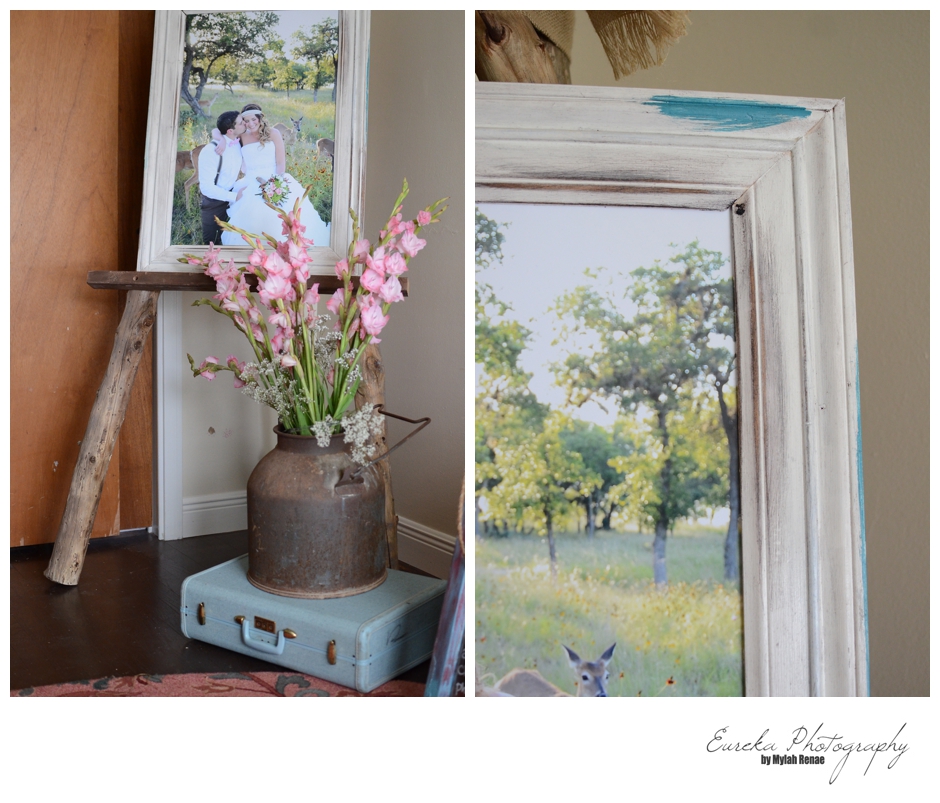
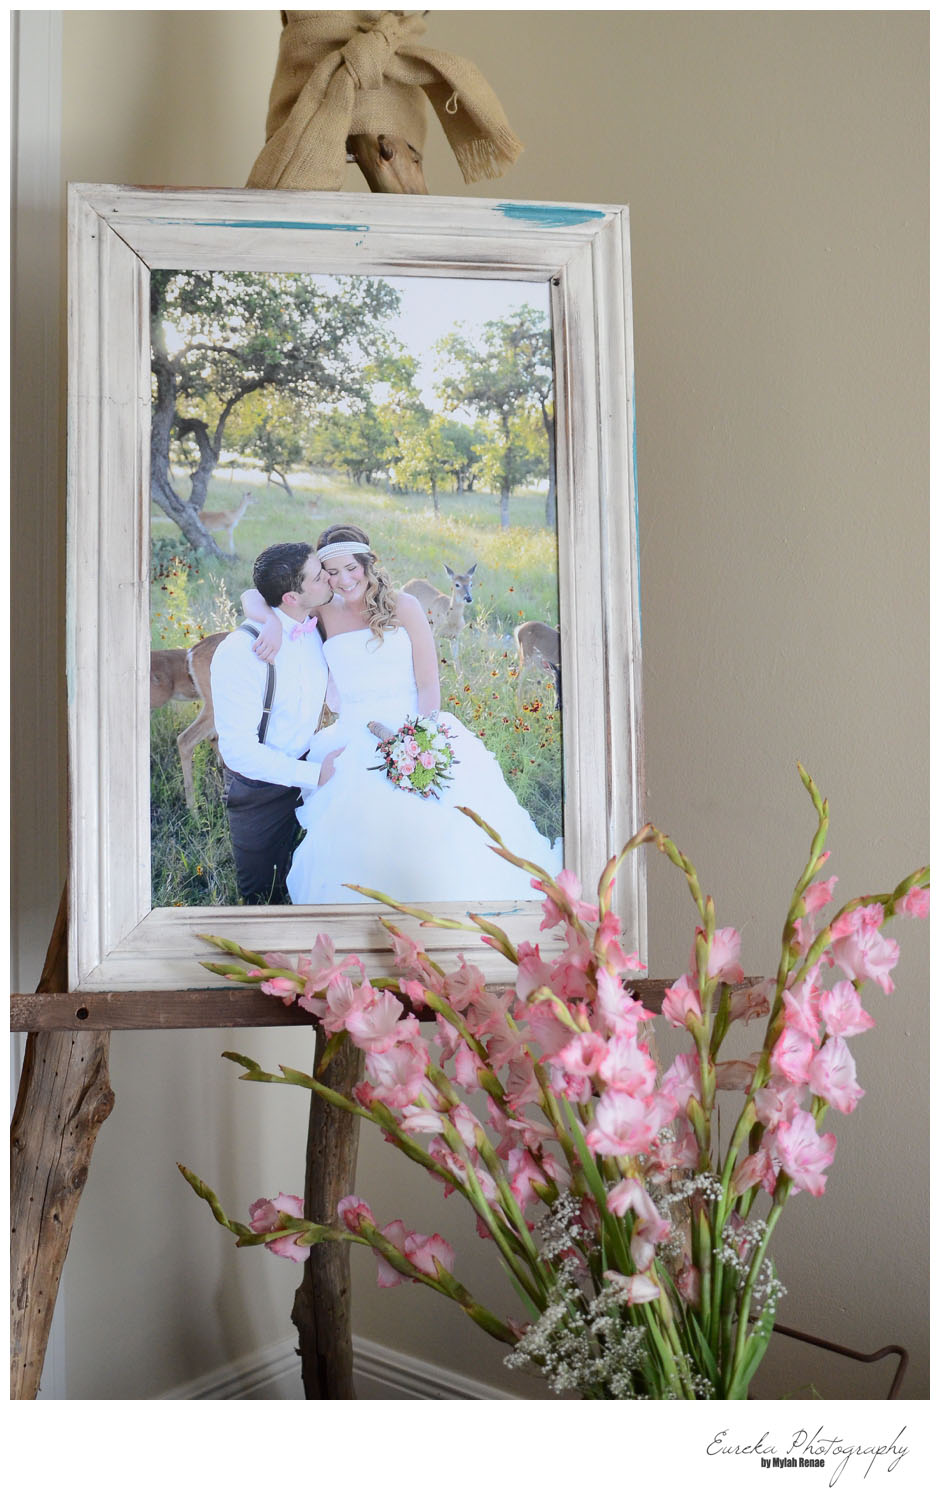
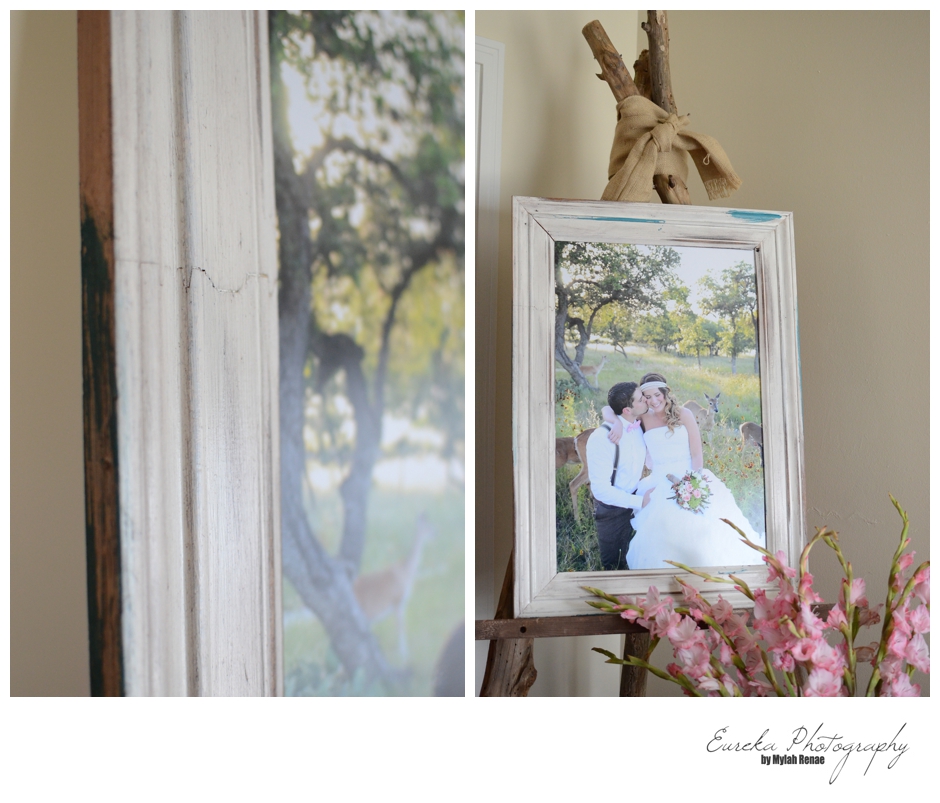
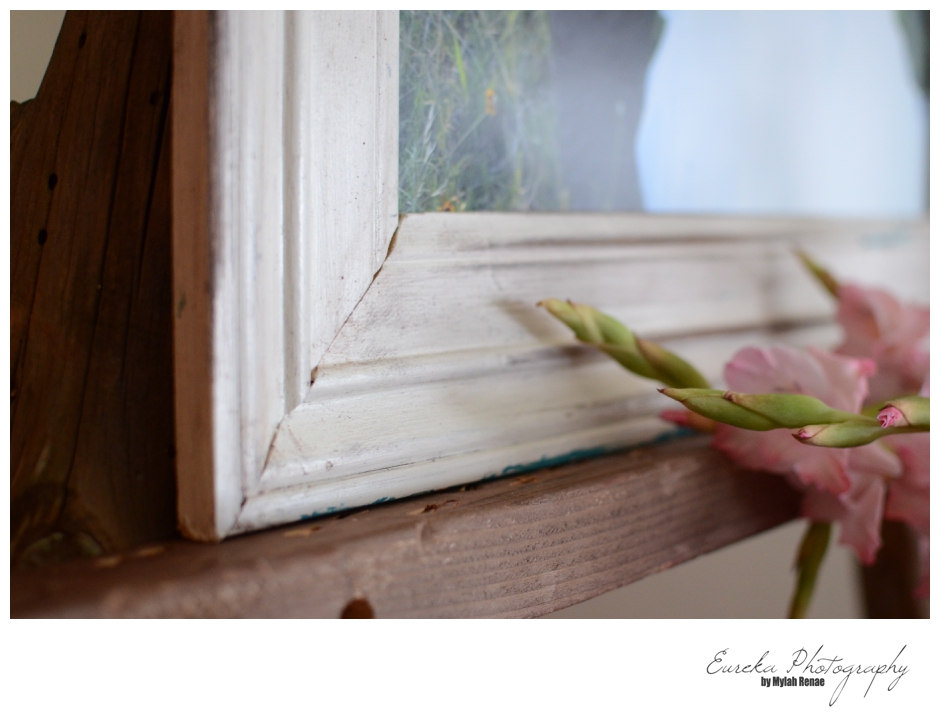
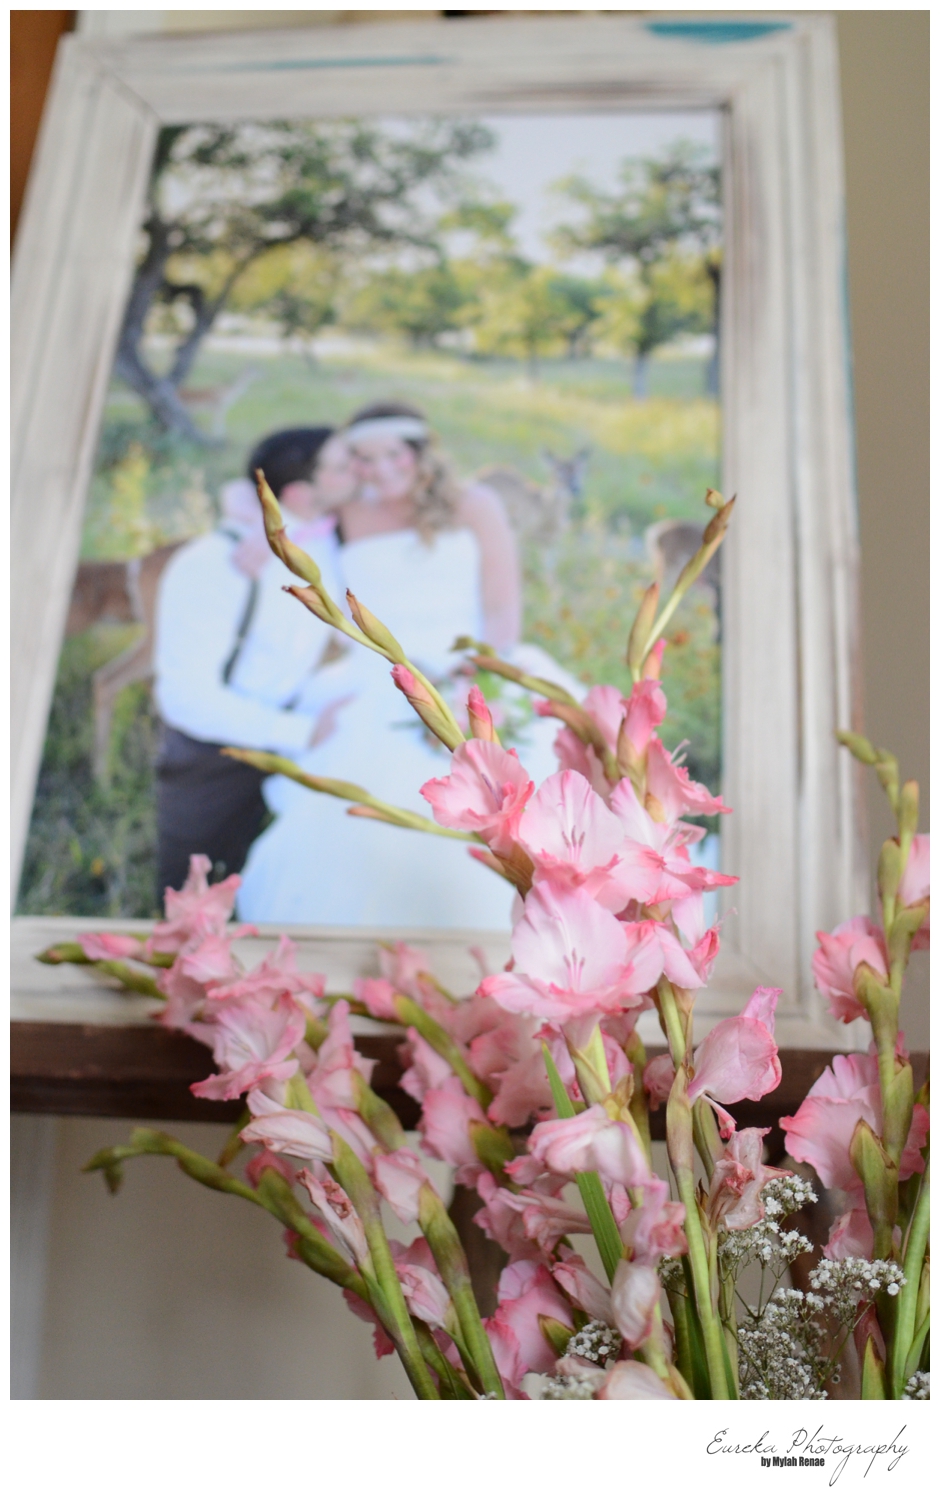
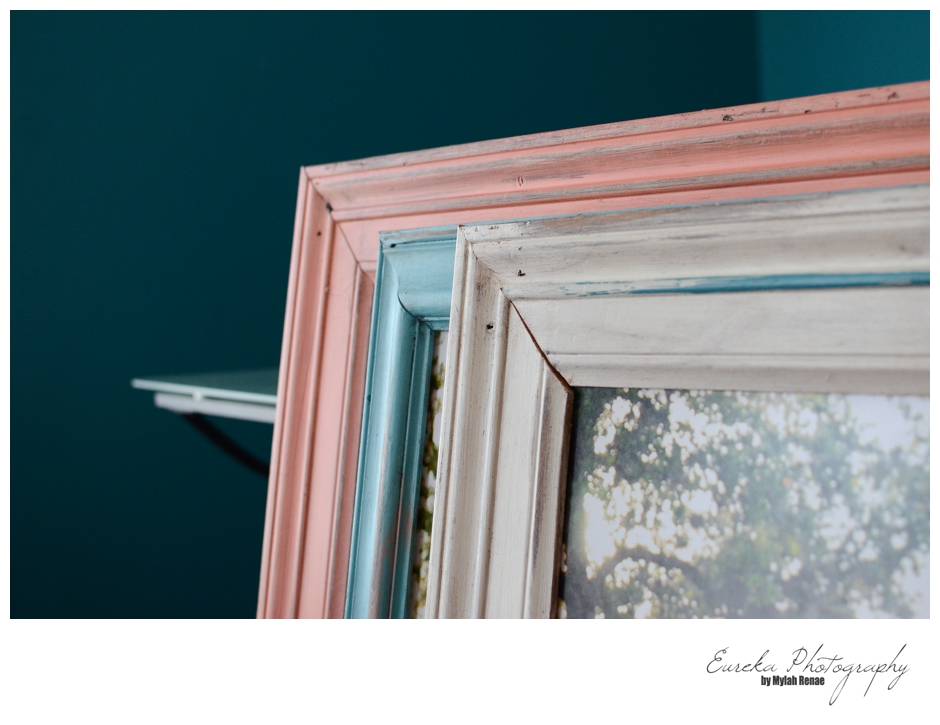
THAT’S IT! I’m still needing to take a photo of all the prints finished with the frame, but … they’re already at the show waiting to meet all the lovely brides tomorrow! I’ll update this post later to show you the finished product, but trust me when I say: They’re BEAUTIFUL!!!
*****Post has been updated. The Frames are now shown above.*****
I hope you enjoyed this quick DIY Picture Frame “tutorial!”
Happy Weekend Project,
Mylah Renae
Leave a Reply Cancel reply
© Copyright 2026. All rights reserved. branding & design by brand epiphany.
Mylah Renae is a wedding photographer in Austin TX with over ten years of experience and 145+ five-star reviews. She creates timeless, effortless wedding photos that celebrate your unique love story, delivered with impeccable speed and style.
+ leave a comment